Distributing software to Red Hat-based systems (like Alma Linux, Rocky Linux, RHEL, CentOS, or Fedora) requires a properly configured YUM repository. Setting this up manually can be tedious and error-prone; managing metadata, signing packages, and ensuring proper versioning quickly becomes a headache. ZipZen removes all that friction. With a few clicks, you can host .rpm packages in a versioned repository with clean URLs and automatic metadata management.
In this tutorial, we’ll guide you through creating your first YUM repository with ZipZen. From signing up and creating a project to uploading .rpm packages and publishing them, you’ll have a professional repository ready for your users in minutes.
Step 1: Sign up for ZipZen
Head over to zipzen.dev and select the plan most suitable for your needs. The sign-up process is straightforward: provide your email, and we will send you verification link. Clicking the verification link will take you to the onboarding page where you can complete your profile. Once completed, you’ll land on the dashboard.
It might look a little empty the first time, but that’s fine. We’ll create your first project next.
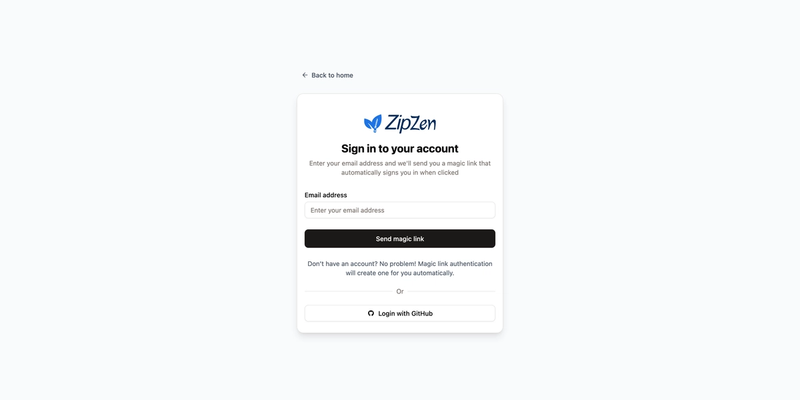
Sign Up Page
Step 2: Create a Project
Every release in ZipZen belongs to a project. A project is simply a container for everything related to your app or library.
From the dashboard, click "Projects" then "New Project" in the sidebar. You’ll be asked to give it a name (something like myapp works), a description, and optionally GPG (private) key and related passphrase.
Once created, you’ll see your project’s overview card. This includes all necessary information, including latest release version, number of releases, and the public releases page for the project.
Once you are on your project details page after clicking "View" on the project card, you will see detailed project and setup information.
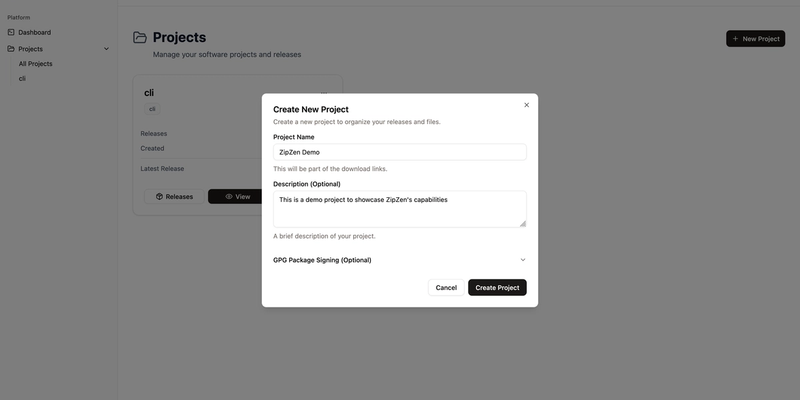
Create Project Modal
Step 3: Cut a New Release
Inside your project, click on the View Releases button in the top right corner. This is where the fun happens. To begin, choose New Release.
You’ll be prompted to enter a version number (for example v1.0.0) and optionally some release notes. This is where you tell your users what’s new or why this release exists. Even a simple note like “First public release of myapp” adds clarity. You may also want to add files and publish your release right away. However, it can be done later on.
At this stage, if you didn't check "publish immediately", your release is saved as a draft. Drafts are private, nobody can see them yet, which means you can take your time uploading files and reviewing details before anything goes live.
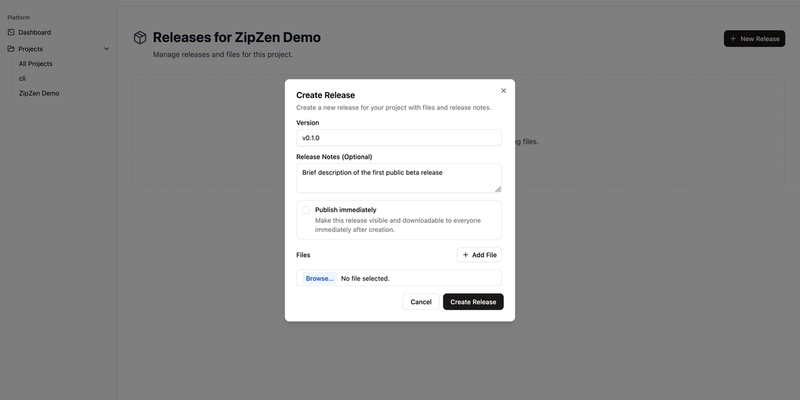
Create Release Modal
Note: when you add files, they are processed asynchronously. This means that you will have to refresh the page to see all uploaded files.
Step 4: Upload Your .rpm Packages
If you uploaded all your .rpm packages when creating the new release, you have nothing to do. Otherwise, click on View Files on the release card to navigate to the release's details page.
On this page, you may upload additional release artifacts, publish your release, copy artifact URLs, verify checksums, or even delete artifacts that nobody downloaded yet. You can also see download statistics for each file.
To add more files, click on Upload Files, then add each file you want to upload.
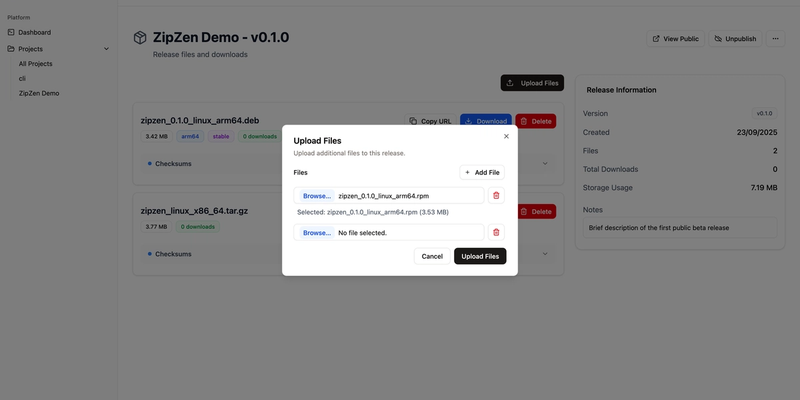
Upload File Modal
Once uploaded, depending on if the release is published, the additional files will be available immediately.
Step 5: Publish the Release
With files uploaded and notes in place, you’re ready to go live. You need to simply click Publish. Publishing flips the switch from private to public.
The `latest` version will always point to your latest published release. You can use it in READMEs, scripts, installers, etc. Behind the scenes, ZipZen ensures the file resolves correctly.
Once the release goes public, the project files can be accessed and browsed from the public release page at https://zipzen.dev/releases/username/project-slug/latest or https://zipzen.dev/releases/username/project-slug/version.
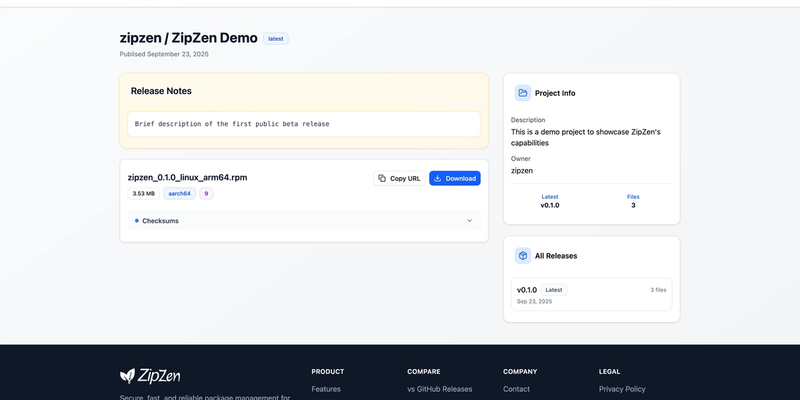
https://www.zipzen.dev/releases/zipzen/zipzen-demo/latest
Best Practices for Binaries
- Stick to semantic versioning (
v1.2.3). It helps both humans and automation tools. - Include release notes, even brief ones. They give context and improve discoverability.
- Keep filenames consistent. A common pattern is
appname-os-arch.ext(e.g.myapp-el9-arm64.rpm). - Automate uploads through CI/CD with the ZipZen CLI once you’ve got a workflow. It saves time and avoids mistakes.
Package Repository
ZipZen automatically creates YUM repositories when you upload .rpm packages. This allows users to install your software using standard package managers like dnf or yum.
More on YUM repository integraiton with package managers: https://docs.zipzen.dev/repositories/yum
Wrapping Up
That’s it, you’ve published your first binary release with ZipZen. From account creation to project setup to hitting “publish,” the process only takes a few minutes, but it makes a huge difference in professionalism and trust.
Your users now have reliable, permanent download links you can share anywhere: documentation, GitHub README, or blog posts. And as you move forward, you can extend this setup with APT, YUM, or Helm repositories. All features ZipZen supports out of the box, with no configuration required.

